Charcoal Process
A look into my process to creating charcoal wildlife art.
SURFACE PREP & TONING
I create my charcoal artwork on large birch panels, which I seal, then prime with gesso. The surface is then sanded until I have the texture to my liking.
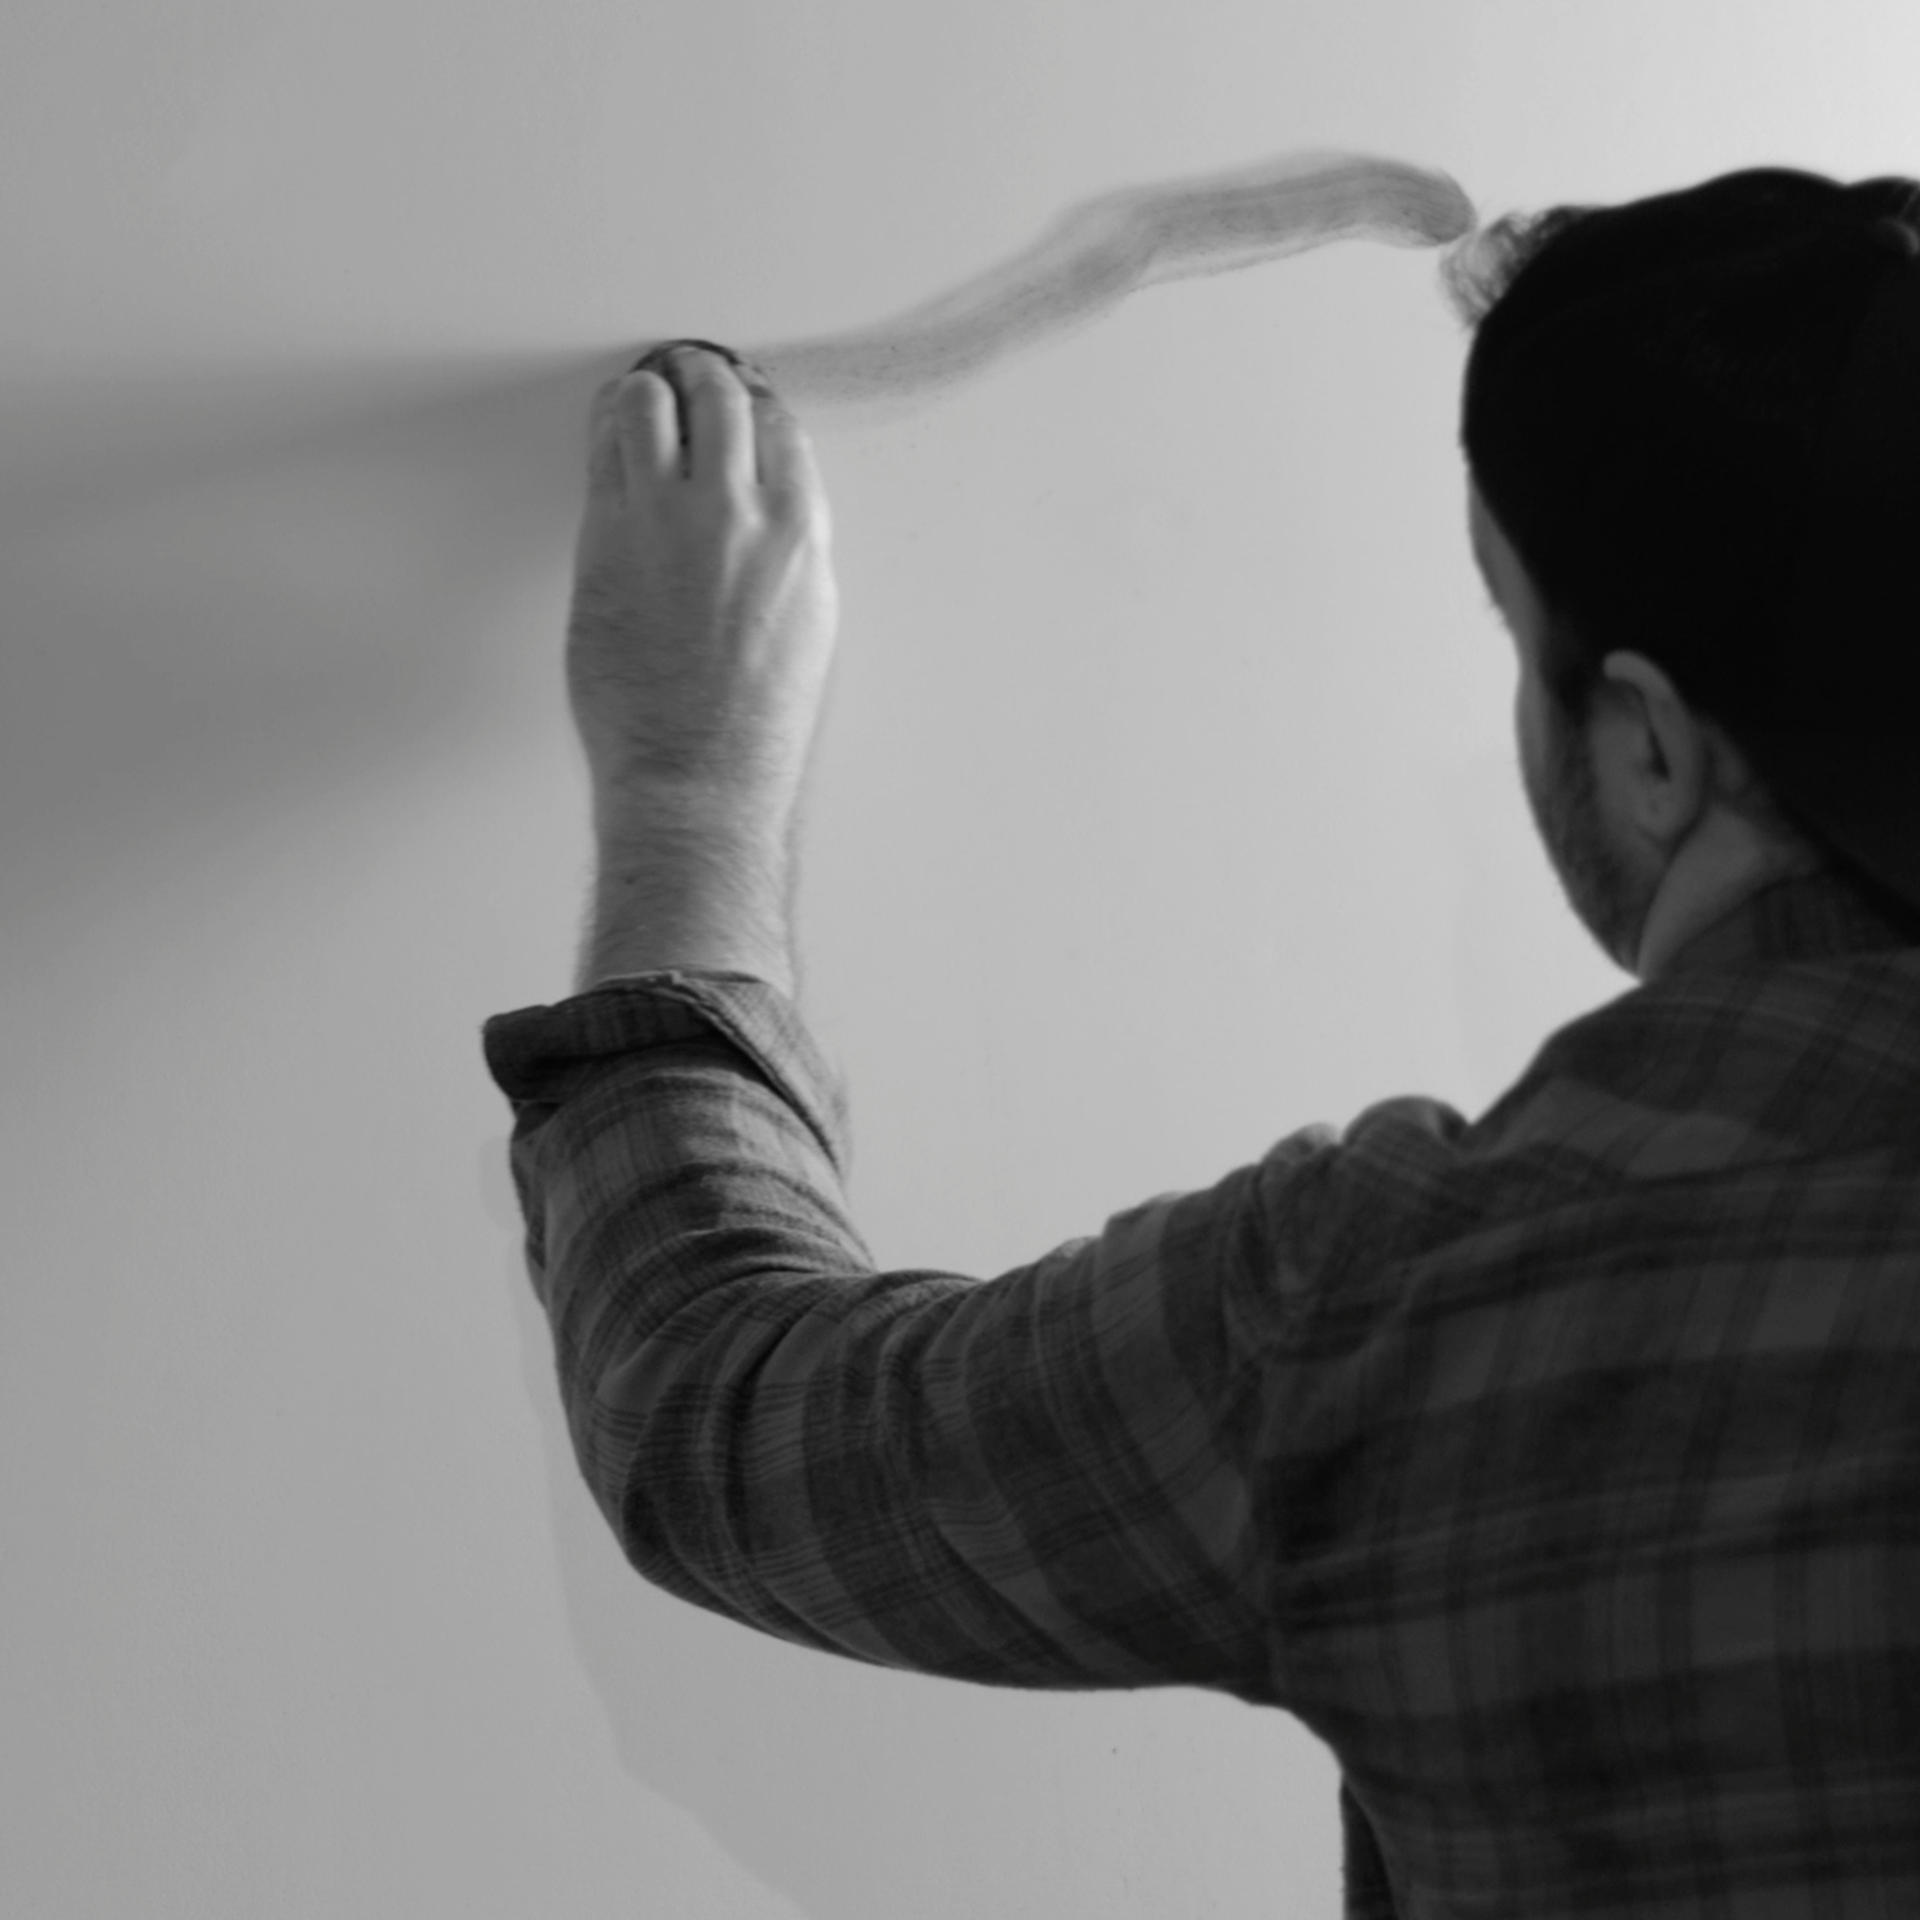
Once the initial surface preparation is done I begin by laying down some ground vine charcoal to tone the area where the subject will be. Vine charcoal is quite literally just charcoal made from vines (usually grape). I use it first because it goes on very smooth and light and it is really easy to erase, which is crucial for the next steps.
ROUGH DETAIL WORK
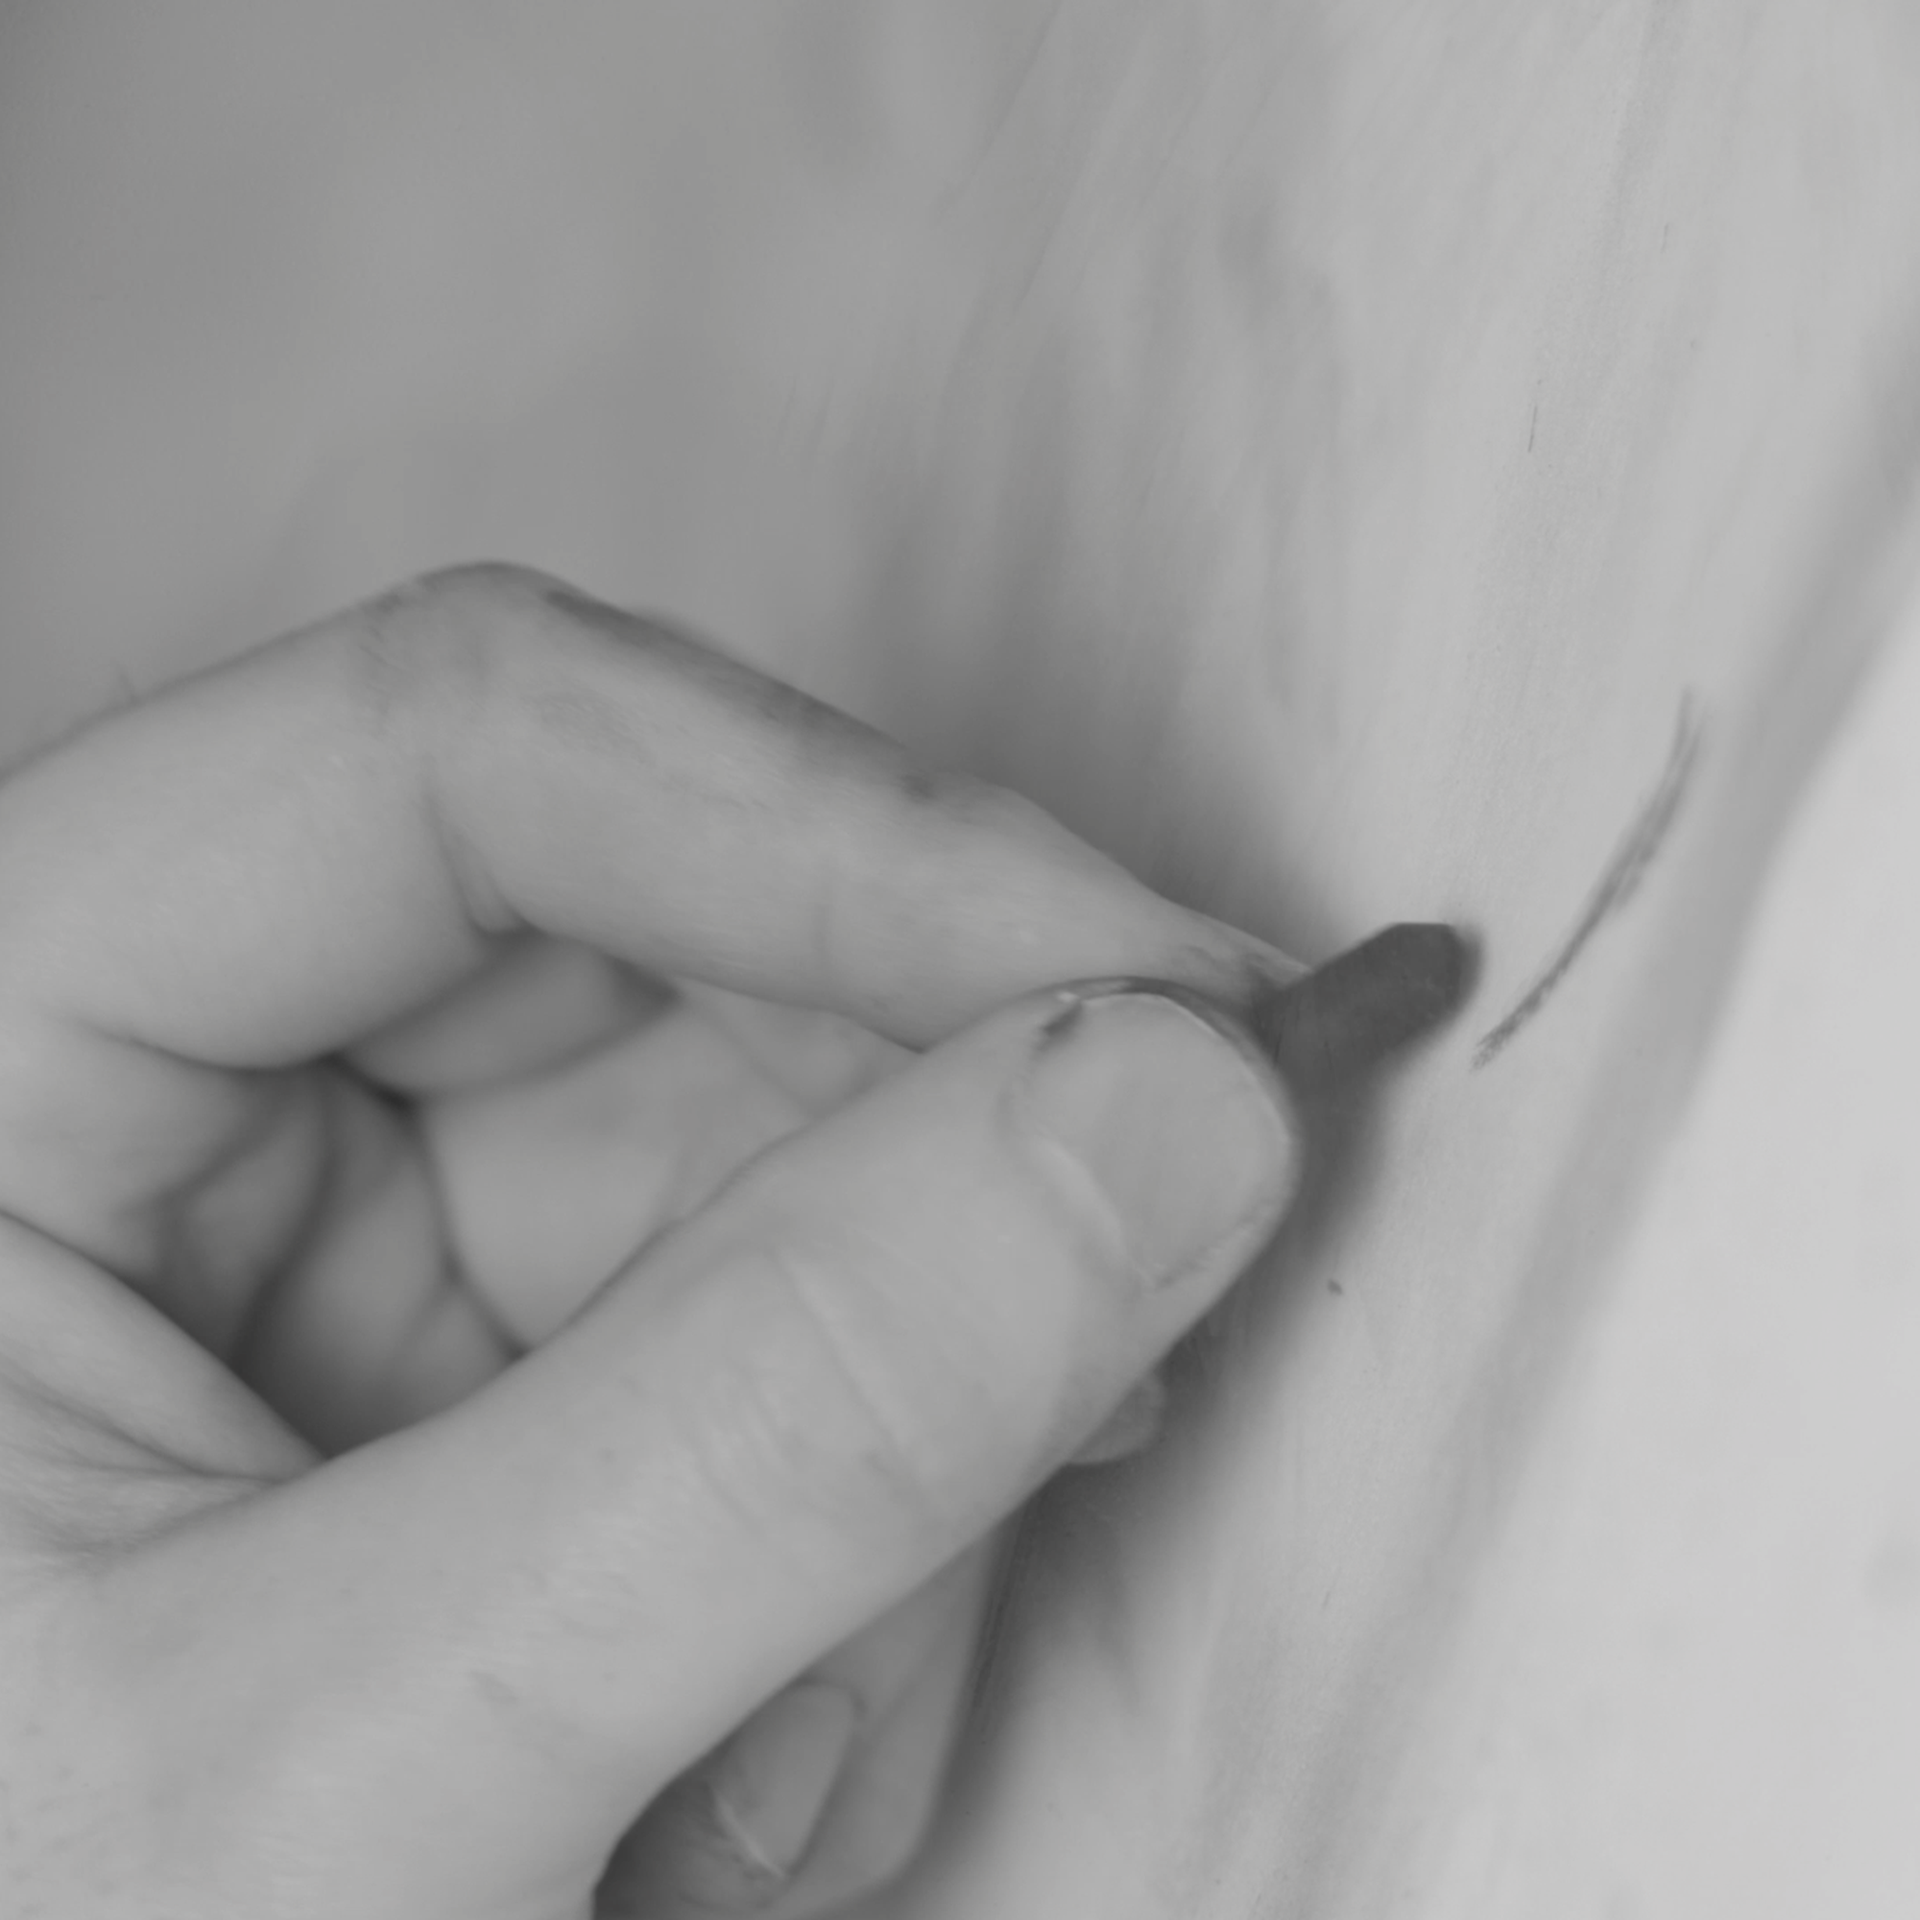
Once a layer of ground vine charcoal is down, I will then take a stick of vine charcoal and mark out the main details and areas that will have the darkest values. I then brush over everything to smooth out the hard lines pulling the darkest lines out into the lighter areas to fill out my mid tones.
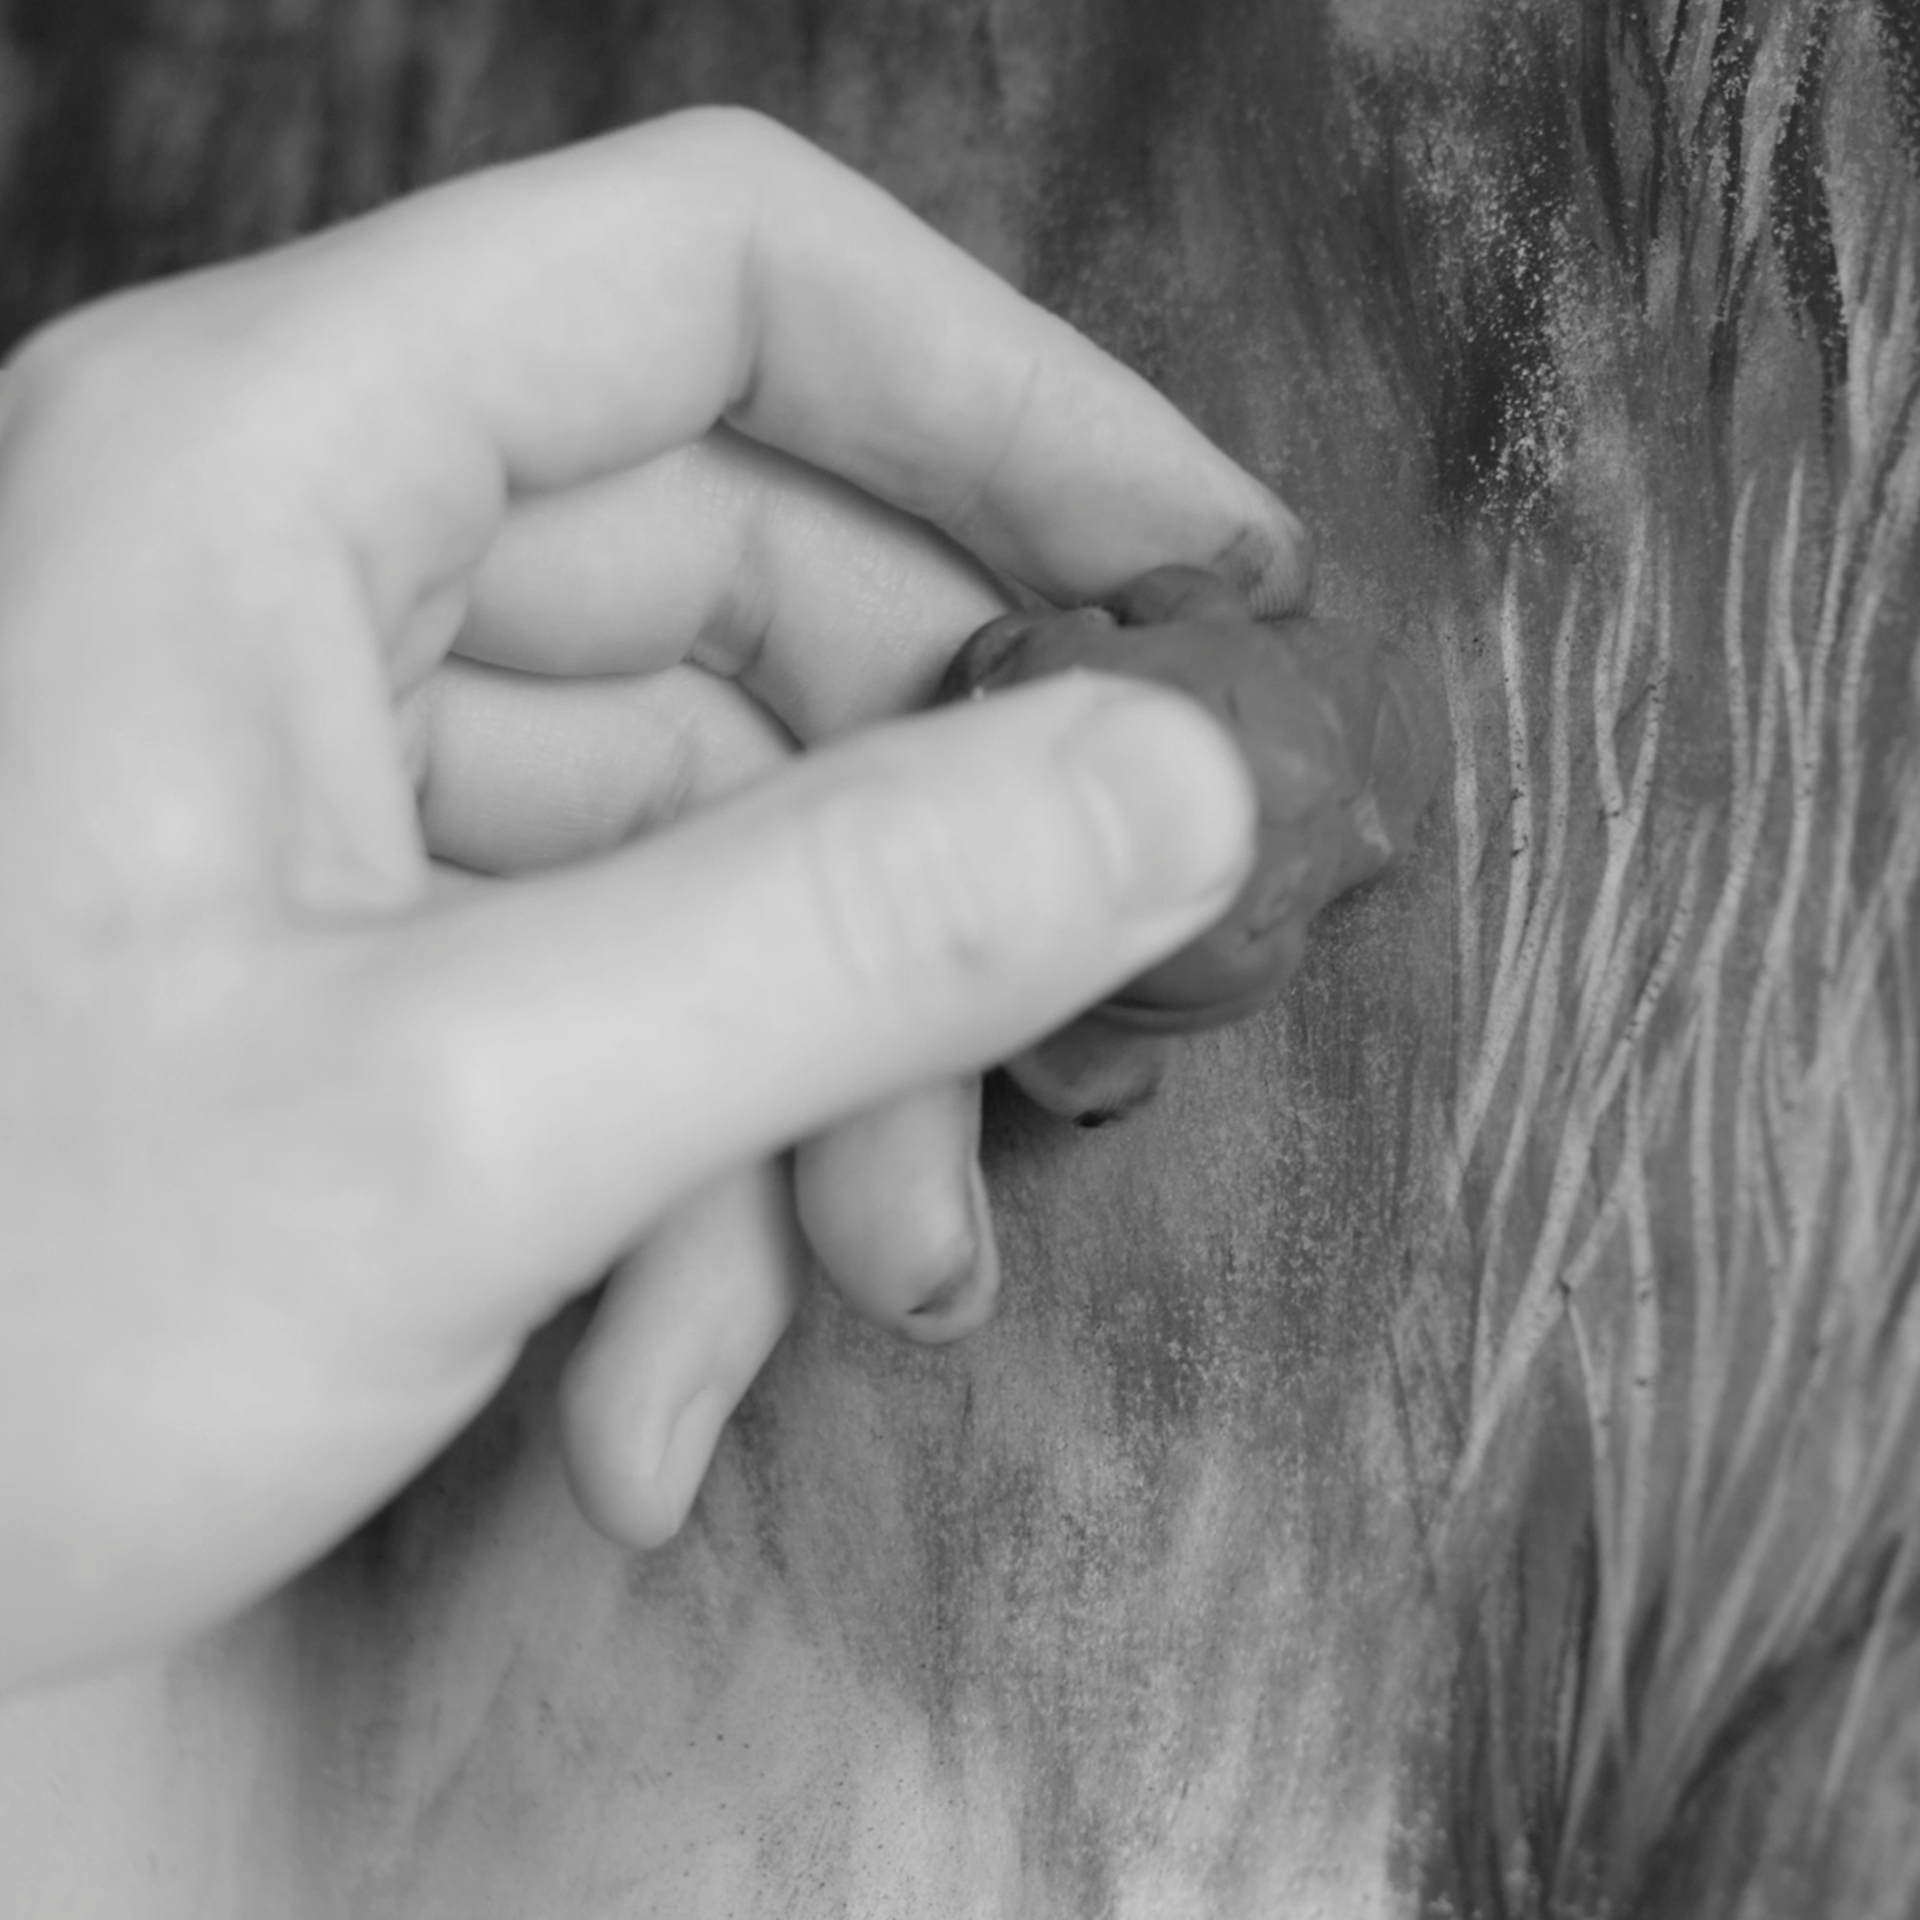
At this point I will retrace those dark lines with a stick of compressed charcoal, which leaves a darker tone on the surface. I will also begin to fill in the darker areas.
HIGHLIGHTS
Now that I have some shadows and mid tones established I will then begin working on the highlights. For this I use a kneadable eraser, and some thin eraser pens.
This part of the process is where I can start to add some fine lines and textures. It is one of the more satisfying parts of using charcoal, as traditional graphite pencils are usually fairly tough to erase. But when using vine charcoal you are able to erase as much as you need.
SHADOW DETAIL
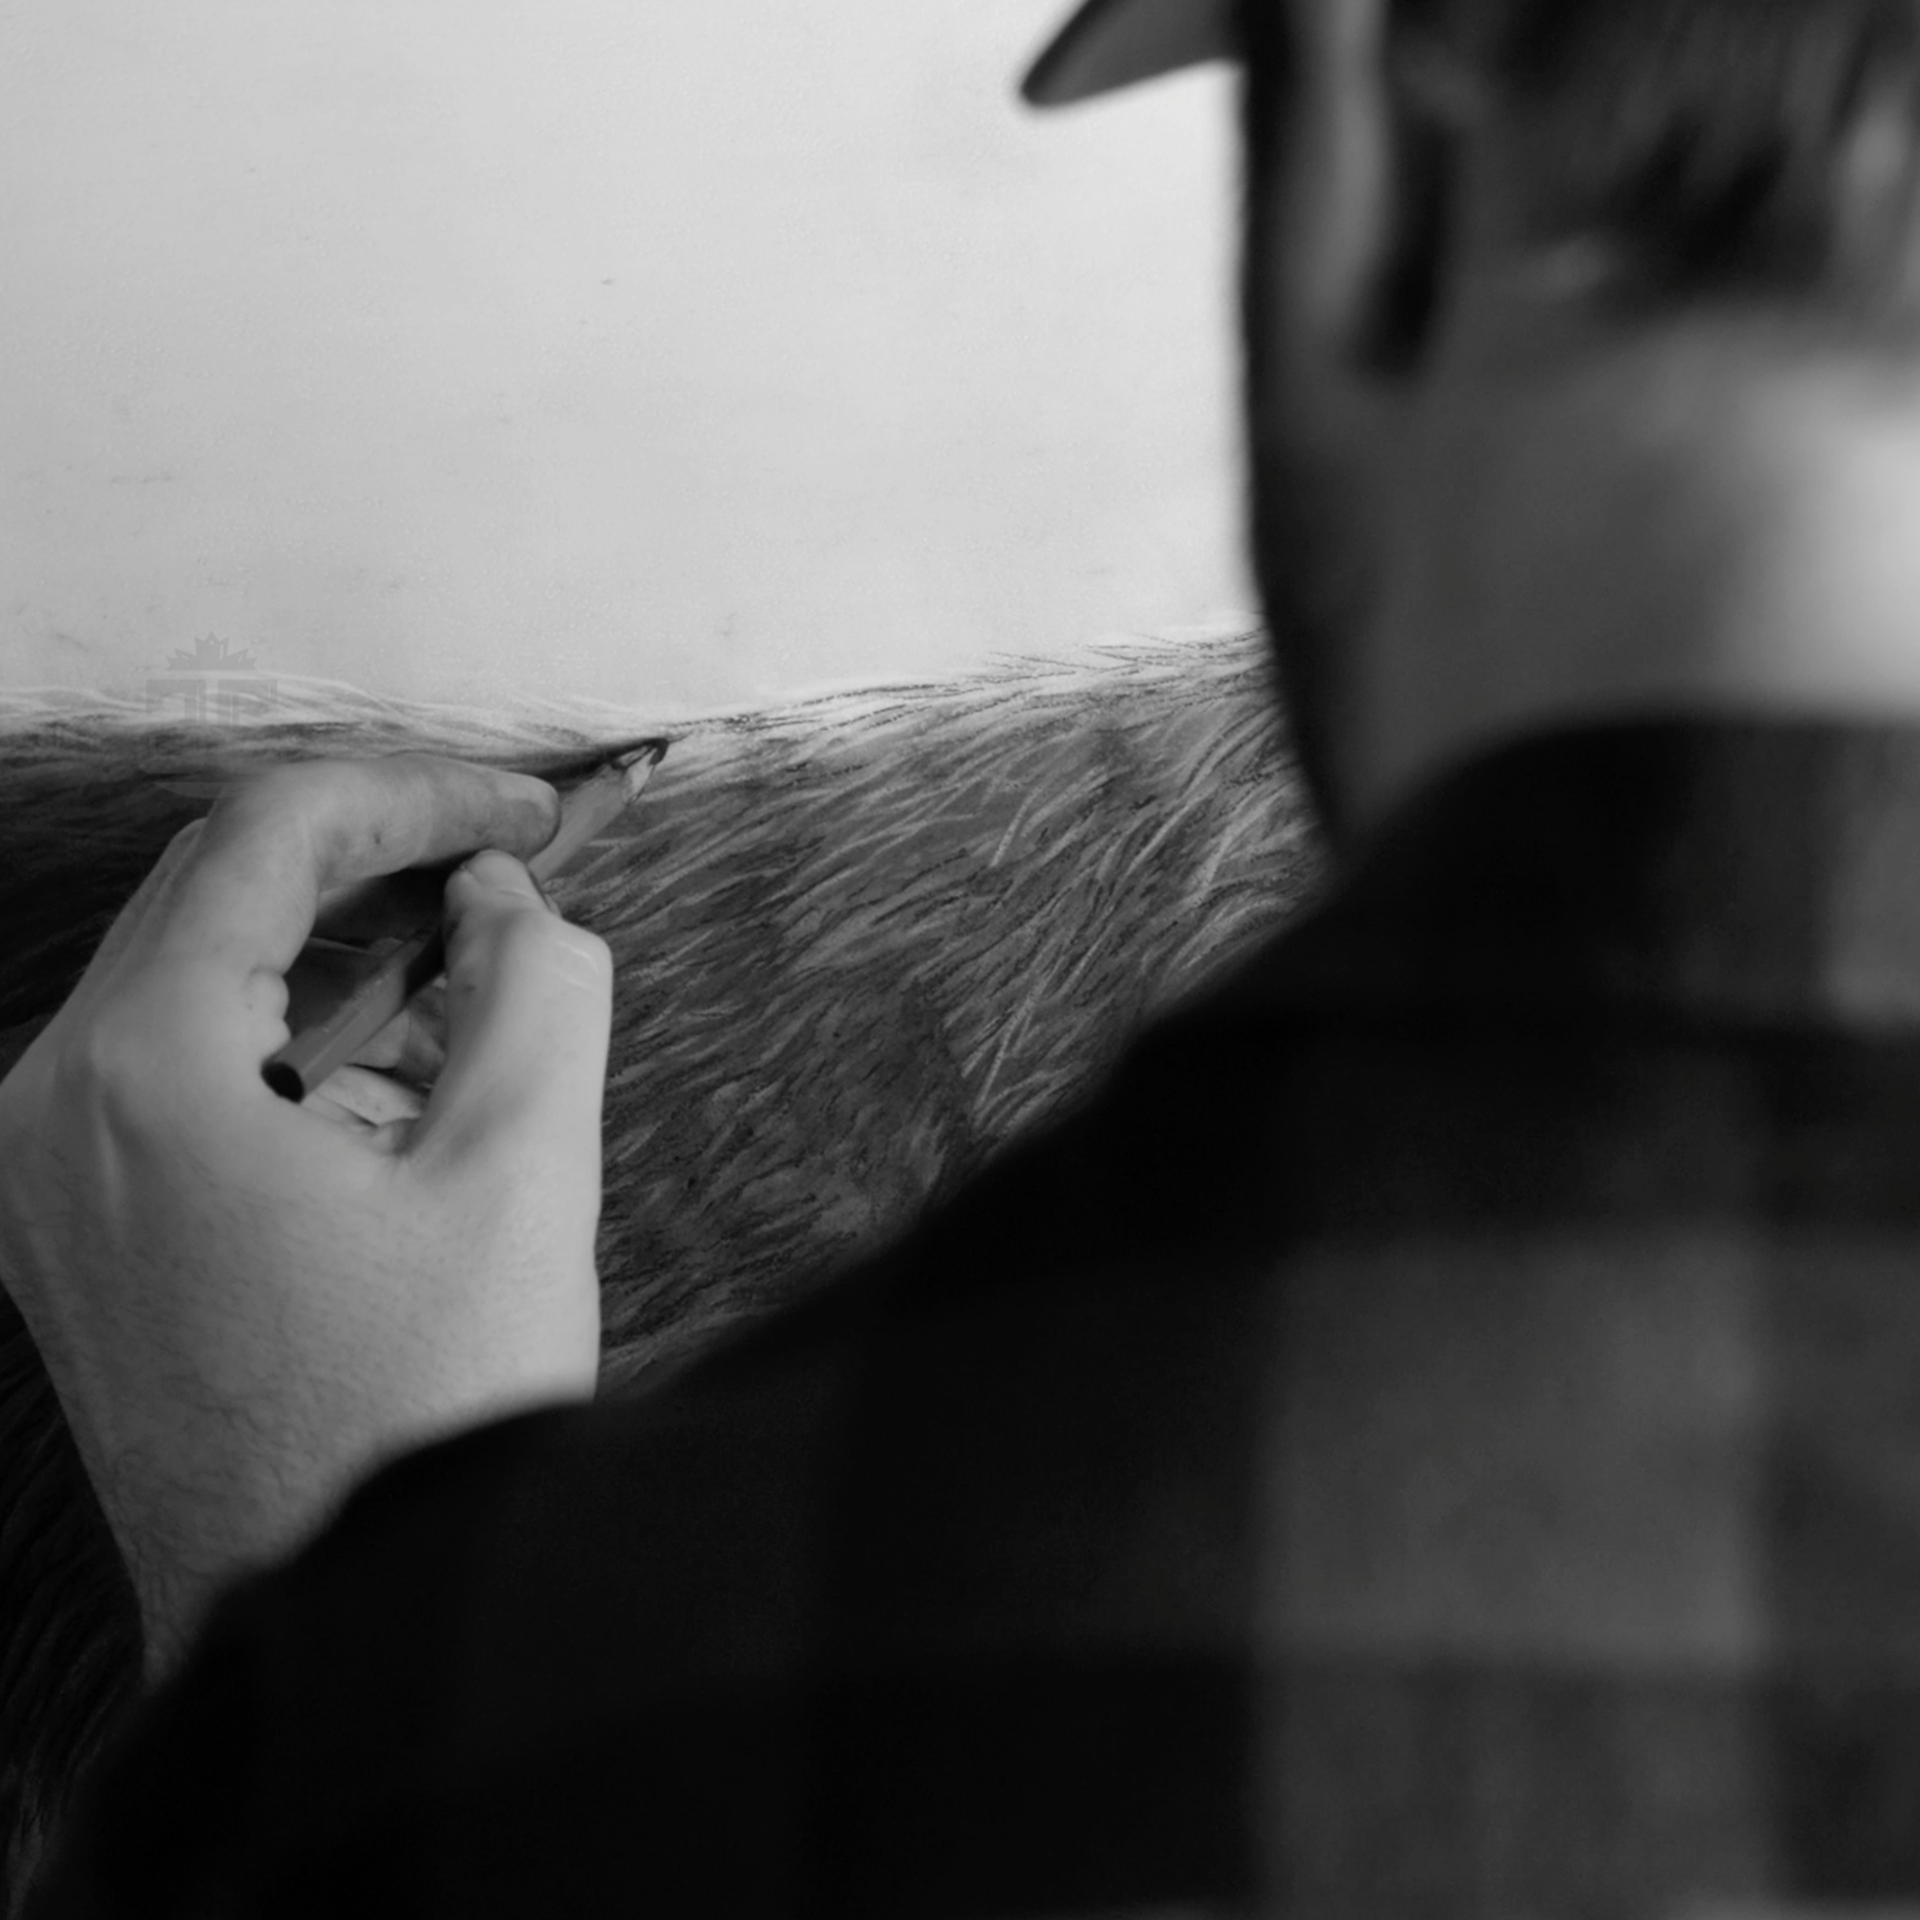
Next I will move in with some softer charcoal pencils to create some of the fine details in the shadows and mid tones.
This part is important to create texture and fine contours. Generally this is the most work and takes a fair amount of concentration and fortitude (especially with bigger pieces). But I like to put on a record and get lost in a bit of a trance. You'll often hear people mention dropping into a flow state, or hyperfocus when creating art. This is that time.

CONTOUR AND FINAL DETAIL
After the main details are all in place. I will spray a few layers of workable fixative over the art. This seals the art to prevent smudging when I begin to add the next layer of details.
This next layer will be a combination of soft compressed charcoal and pitt charcoal. The compressed charcoal will be both drawn on with a stick, and brushed on as a powder, to add the final contours and depth to the subject. The pitt charcoal is the darkest charcoal and it is for the deepest shadows. I really like to use in the the crucial areas to bring the viewers focus in. It works well in and around the eyes of an animal.
SEALING
Once I am satisfied with the final details and I have signed it. I will then begin to seal the piece.
To seal it I start with about 6 layers of workable fixative. It is crucial to seal it well here, so the next medium I lay down does not smudge the artwork. After the final layer of fixative has dried I then brush on an isolation layer to protect the artwork. This layer also adds to the depth of the shadows. Once that layer has dried I add 4 layers of matte varnish, which is the final protective layer and also removes any shine from the isolation layer.


THE FRAME
Finally I like to build a custom frame for each piece. I usually like to use walnut or reclaimed western red cedar for the frames. I add this on as both a added value to the customer, but also to ensure that the piece will stand out in its space. The dark frame adds contrast from the white panel and creates separation from the clients wall colour.
All that is left at this point is to add some hardware and release the piece for sale.
CREATION OF THE CONTENDER
A short video showing the creation of my Bighorn Sheep piece, titled "The Contender"